What Happens at Each Stage of a Children's Book Illustration Project
Short Answer: At each stage of a children's book illustration project, the pictures get one step closer to finished, and you check the work before the next stage begins. The children's book illustration process starts with the brief and the main character. Then come thumbnails, sketches and changes, followed by final art, color and the files your book is printed from. Each stage builds on the one before it, so a change is easiest to make in the stage it belongs to.
You've found your illustrator, or you're close, and now you're wondering what actually happens next. Most first-time authors have never watched a picture book being drawn, so the first email full of rough pencil drawings can be a puzzle. Is this what the book will look like? Should you say something now, or wait until later?
This guide walks through the process of illustrating a children's book one stage at a time, in the order it usually happens. For each stage, you'll see what the illustrator makes, what you're being asked to look at, and what's worth checking before you say yes. It isn't a drawing lesson. It's a plain guide to what you'll see, when you'll see it, and what your approval means.
What Happens After You Hire an Illustrator?
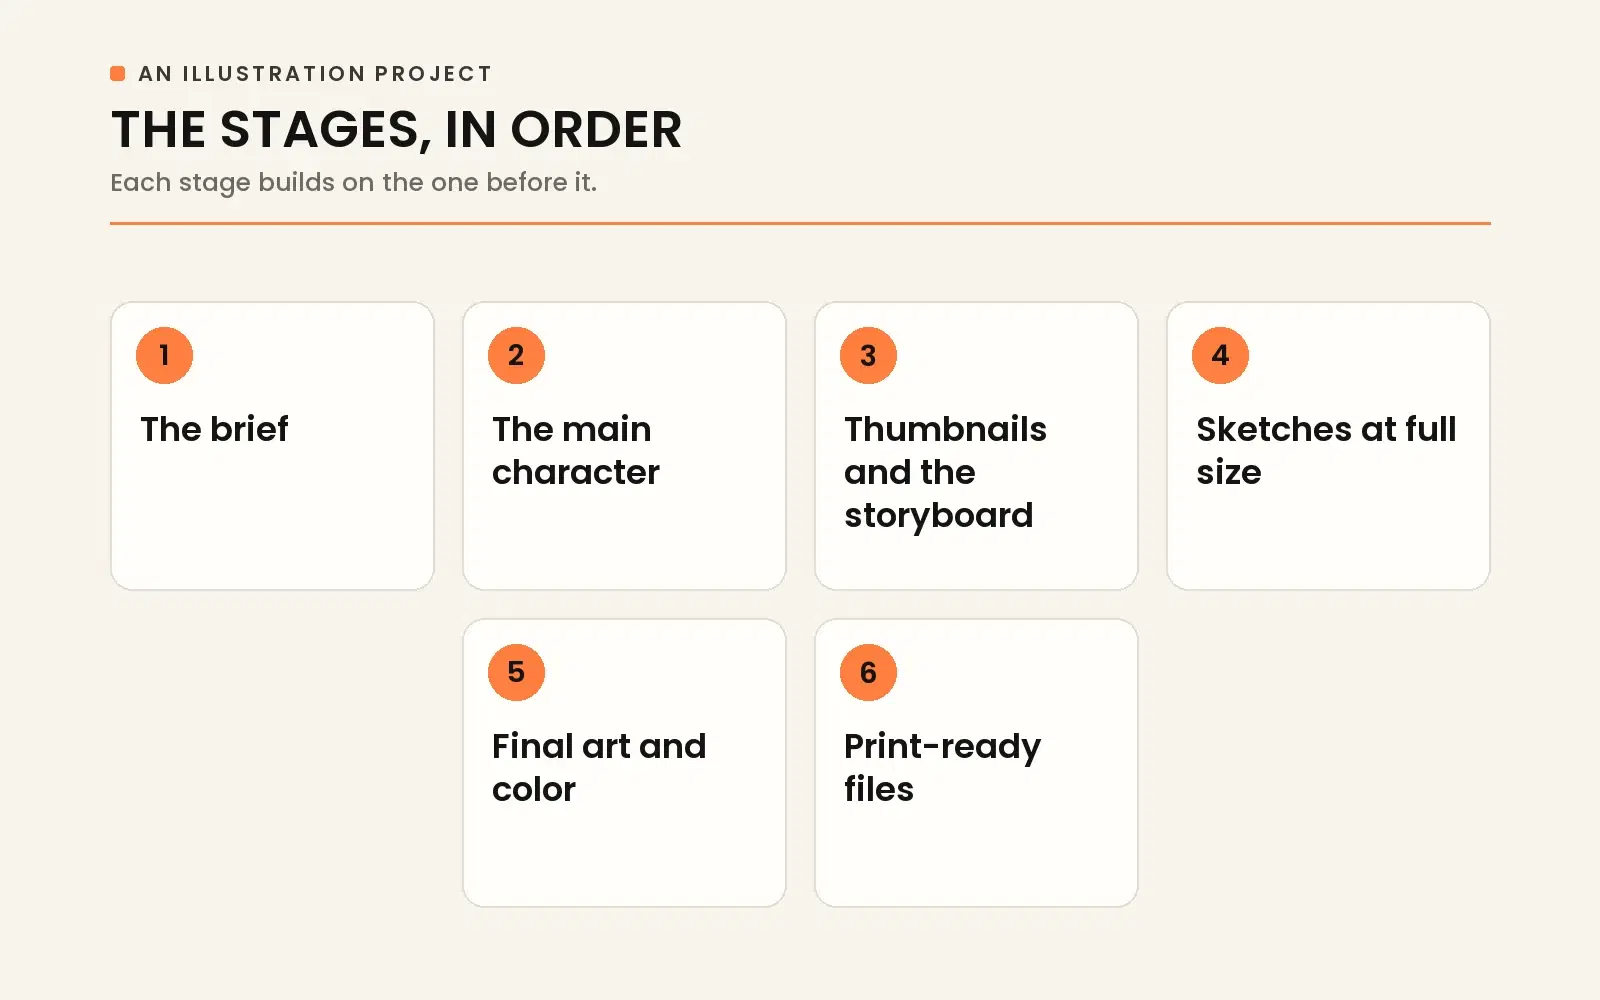
After you hire an illustrator, the pictures move from rough to finished in a set order. You approve each stage before the next one starts. There are no official names for the children's book illustration process steps, so your illustrator may use slightly different words for them. The order rarely changes, though, because every stage is built on top of the one before it.
Here's the whole picture book illustration process at a glance, along with what to check at each point.
| Stage | What the illustrator makes | What you check before you say yes |
|---|---|---|
| The brief | Questions, and often a small style sample | That your story, reader and mood are understood |
| Character design | Your main character, then a character sheet | That the character looks right from every side |
| Thumbnails and storyboard | Tiny rough drawings of every page | That the pacing and page turns work |
| Sketches | Full-size drawings of each page | Poses, faces, story details and room for the words |
| Changes | Revised sketches or pages | That each of your notes was handled |
| Final art | Finished pages made from the approved sketches | That nothing drifted from the sketches |
| Color | A color sample early, then color on every page | The mood, and the character's colors staying the same |
| Files and hand-off | Print-ready files for every page | Size, bleed and format for your printer |
Real projects don't always move in neat blocks. Color is often tested on one or two pictures early on, and small changes happen inside every stage, not only in one. How long each stage takes is a separate question. It depends on the book and the illustrator's schedule, and it's covered in how long it takes to illustrate a children's book.
How Do Children's Book Illustrators Work?
Children's book illustrators work in rounds, starting rough and getting more finished each time, and they wait for your approval before moving on. A rough pencil line can be moved in a moment. A finished, fully colored page may have to be started again from scratch.
That's why illustrating a children's picture book happens in stages. The early stages are quick to look at and easy to change, so they're where the big decisions get made. The later stages are about finishing, so they're where only small fixes belong. Once you know which kind of stage you're in, you'll know what kind of notes to give.
Who gives that approval depends on how the book is being published. If you're self-publishing, you approve each stage yourself, usually by email or on a video call. If a traditional publisher takes on your book, the publisher's art director finds the illustrator and takes over the art from there. Either way, the ground rules are set before the first sketch. That's why it helps to know what to settle with an illustrator before you hire them.
The Brief Gives the Illustrator Everything to Start With
The brief is the first stage, and it's where you tell the illustrator what your book needs before any drawing starts. A clear brief saves a round of changes later, because the illustrator isn't left guessing about the things only you know. It usually covers a handful of plain things.
- Your finished manuscript, split into pages if you've already done that.
- Who the book is for, and whether it's a picture book, an early reader or something else.
- The trim size, which is the finished size of the book, if you've chosen one.
- Notes on each character, plus any photos that show what you picture.
- The mood you're after, such as cozy, silly or full of adventure.
- Anything you'd rather not see, like a color you dislike or a scene you want kept gentle.
Photos do more work than long descriptions. Picture a dad writing a story about his son, who has worn the same red rain boots almost every day since spring. One snapshot of those boots tells the illustrator more than a whole paragraph could. The boy in the book ends up wearing them on every page.
Many illustrators reply to the brief with questions. Some also send a small style sample, so you can agree on the look before anything else is drawn. Answer the questions fully, even the ones that seem small. A good brief could fill a guide of its own. For now, the point is simply that nobody should have to guess.
The Main Character Is Designed Before Any Page
The main character is designed before any page because every other picture in the book depends on it. If a character's face or shape shifts halfway through, young readers notice, and the book starts to look unfinished. So the illustrator settles the character first, while changing it is still easy.
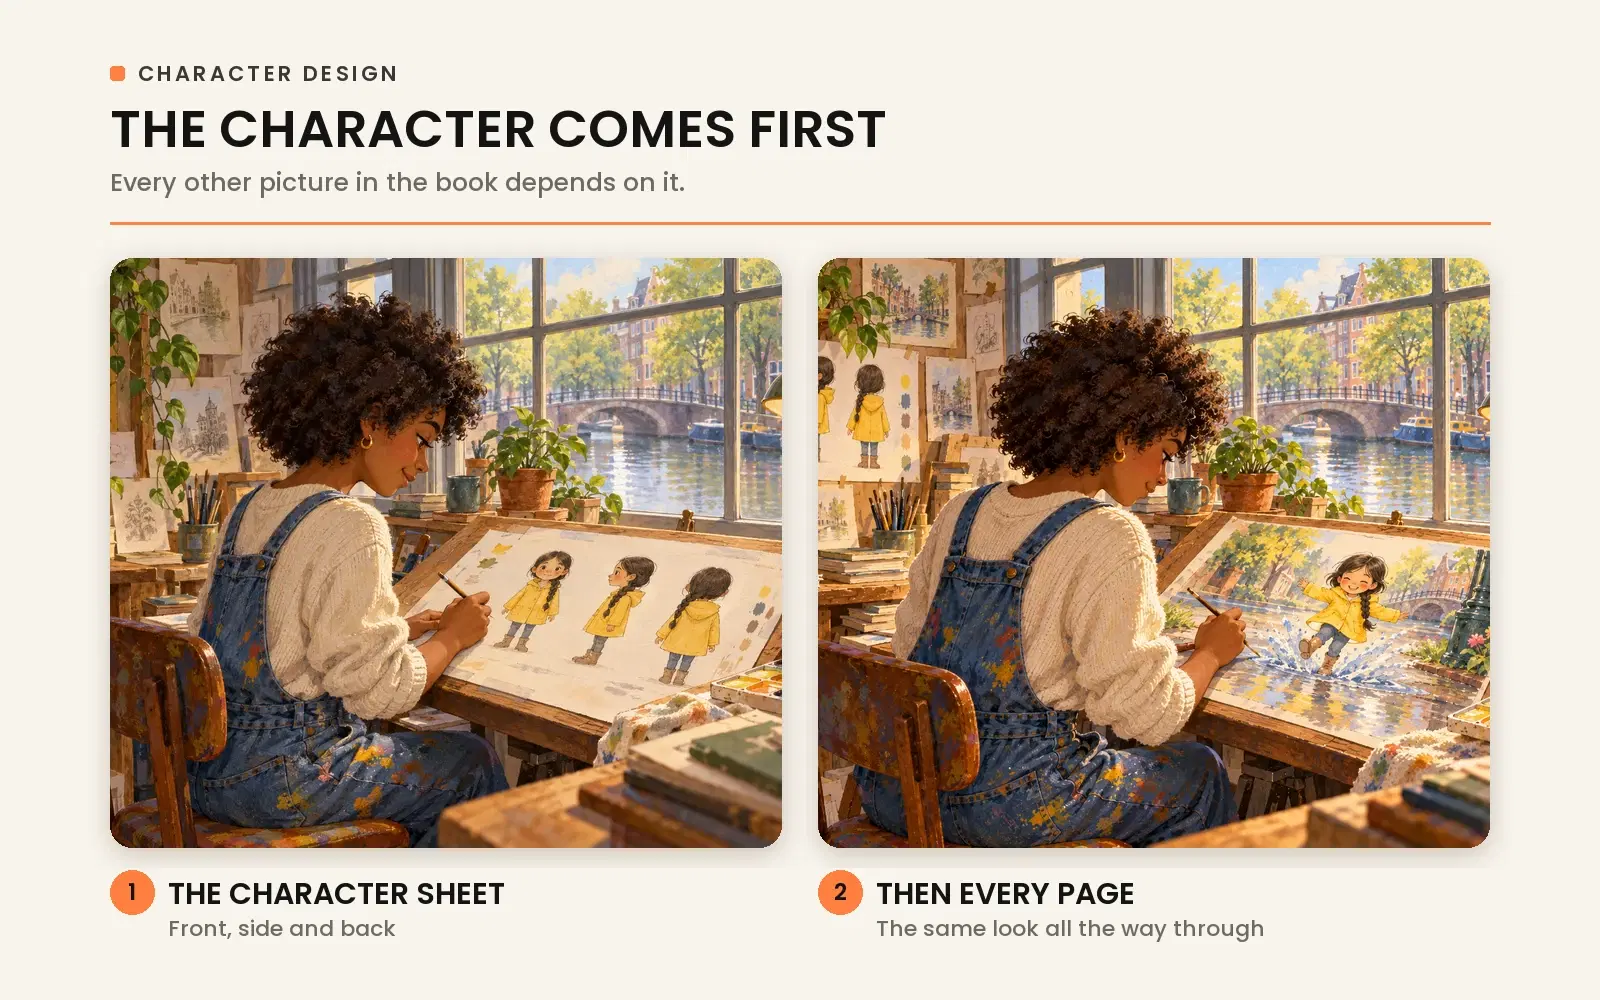
This stage usually begins with a few rough versions of your character, each drawn a little differently. You pick the one that feels closest to what you imagined, and the illustrator refines it. Once it's approved, the illustrator draws a character sheet. That's a page showing the character from the front, the side and the back, with a few expressions and the exact colors. That sheet becomes the reference for every page that follows.
Look at the character sheet with the whole story in mind, not just one picture. Imagine a grandmother writing about her granddaughter, whose long braid always falls over her left shoulder. On the character sheet, she can check that the braid stays on the left in every view. Then it won't jump sides when the girl turns around halfway through the book.
The same goes for anything that has to stay the same, like glasses, a pet's markings or a favorite jacket. Other characters who show up often, such as a brother or the family dog, usually get a simpler sheet of their own. If a detail is wrong, say so now, because the character sheet is the easiest place in the whole project to fix it.
Thumbnails and the Storyboard Map Out Every Page Turn
Thumbnails are tiny, very rough drawings of every page, laid out together so you can see the whole book at once. Arranged in reading order, they make up the storyboard, which shows how the story flows from one page turn to the next. Nothing is detailed yet, and that's on purpose. You're judging the plan rather than the drawing.
The storyboard settles a lot. It decides which moments get a full spread, meaning two facing pages treated as one big picture. Other moments get a single page or a small spot drawing. It shows where the words will sit, and it shows whether the book keeps moving. Some illustrators also fold the pages into a picture book dummy, a rough mock-up you can page through like the real thing.
Small problems are easiest to spot here. Say your story follows a girl chasing her runaway kite across town. In the thumbnails, you might notice that three spreads in a row show the chase from the same far-off view. That makes the middle of the book feel slow. Moving one of those pictures in close, onto her fingers just missing the string, fixes it with a pencil.
Storyboarding deserves a full guide of its own. The post on how a storyboard plans your book before the final art goes much deeper into pacing, page turns and where the text sits.
Sketches Show Every Page at Full Size
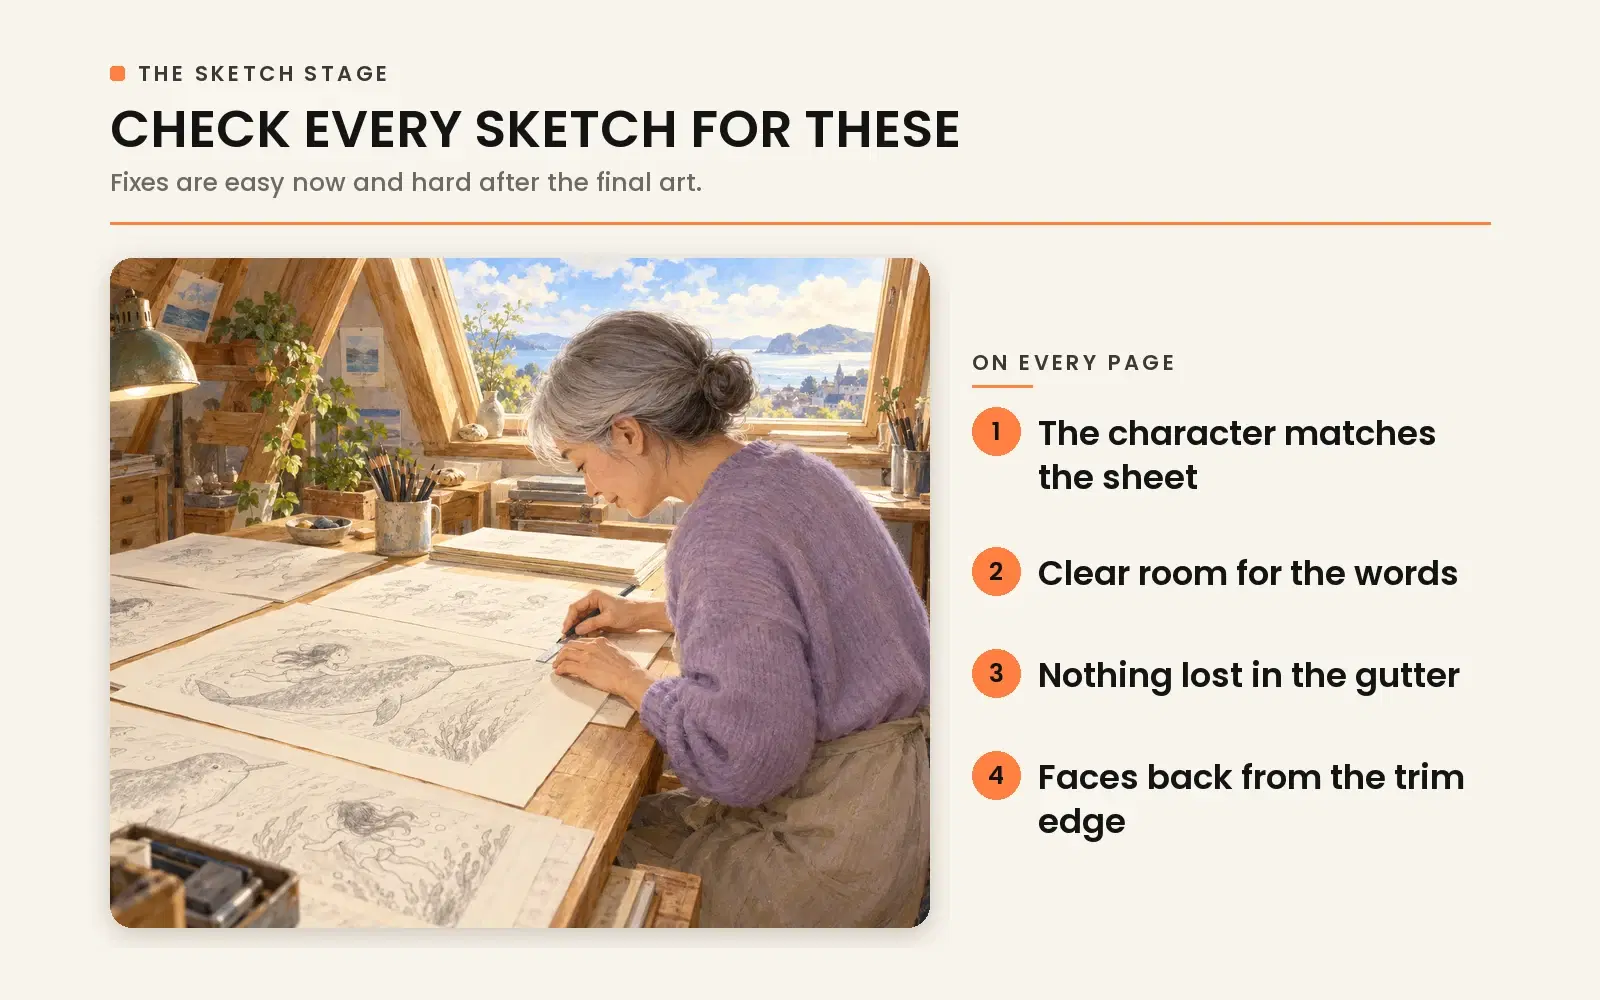
Sketches are full-size drawings of each page, usually in black and white, made from the approved thumbnails. They show the poses, the faces, the backgrounds and the space left for your words. This is where your book first starts to look like a book. It's also the last stage where moving things around is quick.
When the sketches arrive, go through them slowly with your manuscript open beside you. These are the things worth checking.
- The character matches the character sheet on every page.
- Each face shows the feeling the words describe on that page.
- There's clear room for the text, away from the busiest parts of the picture.
- Nothing important sits in the gutter, the fold in the middle of a spread where the pages meet the spine.
- Faces and key details stay back from the trim edge, where the page is cut.
- Small story details are right, like the number of balloons or the time on a clock.
Real places and objects are worth a photo at this stage too. Think of a grandfather writing about the summers he spent on his uncle's farm. Say the sketches show a plain red barn, but the real one had a stone base and a crooked weathervane. A photo sent now gets it right in the next round. After the final art, the same fix means redrawing and repainting every page the barn appears on.
Try reading the sketches aloud, one page at a time, the way you'd read to a child. You'll quickly notice if a picture shows something the words haven't said yet. You'll also catch any picture that gives away a surprise meant for the next page.
When Should You Ask for Changes?
Ask for a change in the stage it belongs to, and as early as you can. A note about the order of scenes belongs in the thumbnails. A note about a pose or a face belongs in the sketches. By the time the final art arrives, only small fixes should be left, like a shade that's slightly off or a detail that went missing.
Timing matters because each stage is built on the one before it. A late change doesn't just fix one thing. It undoes finished work. Picture an author who opens the final pages and realizes the family cat should be orange, like her own cat, instead of gray. On the character sheet, that was a one-line note. Now every page with the cat on it has to be repainted.
Many illustration agreements say how many rounds of changes each stage includes. A round usually means you send one set of notes, and the illustrator sends back one revised version. A few habits help you get the most out of each round.
- Gather every note into one list instead of sending them as you think of them.
- Point to the page and the exact thing you mean, like the kite's tail on the page where it snags in a tree.
- Keep fixes, which correct something wrong, apart from new ideas, which change something you approved.
- Ask a question when you're unsure, rather than guessing what the illustrator meant.
Giving good feedback is a skill of its own, but those basics prevent most mix-ups. Is it still unclear how many rounds you have, or what counts as a change? Settle it in writing before the work goes any further.
Final Art Is Where the Pages Get Finished
Final art is the stage where the illustrator turns each approved sketch into a finished page. Depending on the illustrator's style, that might mean ink and watercolor on paper, paint on board, or drawing and painting on a tablet. Art made on paper is then scanned or photographed at high quality so it can be printed.
Some illustrators finish one or two spreads first and show you those before painting the rest. It's a sensible check, because it confirms the finished look before the whole book is done that way. The look itself comes from the style you agreed at the start. If you'd like words for the look you like, there's a guide to the main children's book illustration styles and mediums.
At this stage, your job is mostly to compare. Hold each finished page next to its approved sketch and check that nothing drifted. Look for a pose that changed, a detail that went missing or text space that got smaller. Make sure the character still matches the character sheet, even on the busiest pages. Keep your notes to small fixes, because anything bigger means going back to a stage you've already approved.
When Is Color Added to the Illustrations?
Color is usually tested early and finished along with the final art. Many illustrators share a color sample or a few small color roughs before the final pages. That way, you can agree on the colors while they're still easy to change. Full color then goes onto every page as each one is finished.
Color sets the mood of each scene, so look at it page by page, not only as a whole. Think about a bedtime story that should grow calmer toward the end. The color roughs might keep the same bright yellows all the way through. In that case, you could ask for the last few spreads to cool into soft blues and purples as night comes in. It's a small note early on, and it changes how the whole book feels at bedtime.
It's also worth checking that your main character keeps the same colors on every page, even in a dark or sunset scene.
One color decision reaches beyond the art, and it's best made before the illustrator starts. On Amazon KDP, a print on demand service, you choose a color ink option if any images in your book should print in color. KDP also reminds authors that books printed in color cost more. So a mostly black-and-white book with a handful of color pictures is still set up as a color book. That's why it pays to decide between color and black and white at the brief, not after the art is drawn.
What Files Should You Get When the Art Is Done?
When the art is done, you should get high-resolution files of every page. They should be sized for your book and ready for a designer or printer to use. What that means in practice depends on where your book will be printed, so tell your illustrator early. For print on demand, a few details matter most.
- Resolution. Amazon KDP asks for images of at least 300 DPI, which means 300 dots per inch.
- Bleed. Art that runs to the edge of the page has to go past it. That's because Amazon KDP trims 0.125 inch from the top, bottom and outside edges.
- The gutter edge. IngramSpark's file guide asks you not to add bleed on the bound edge, where the pages meet the spine.
- Color mode. IngramSpark asks for images in CMYK, the four-ink color mode printers use.
- The words kept separate. The story text is often set later by a book designer, so the art usually arrives without words on it.
Keeping the words off the pictures can pay off in ways you might not expect. Picture a father who wants a large-print edition for his own father, whose eyes tire easily. Because the text sits apart from the paintings, a designer can often set the words larger without the illustrator redrawing a single page.
The files are one thing, and the right to use them is another. As a general rule, the copyright in the art belongs to the illustrator who created it, unless there's a signed written transfer or the art counts as a work made for hire. The U.S. Copyright Office's guide to works made for hire explains when that applies. Make sure your written agreement says what you're getting, not just which files.
Once the files are in hand, the illustrations move on to page layout, a printed proof and publishing. If you'd like to see how those steps fit together, here's what happens between finished art and a printed book.
Where Book Writing US Comes In
If you'd rather not find and manage an illustrator on your own, we offer children book illustration services at Book Writing US. Our illustrators create the art for picture books, early readers and educational books, and they can take on every picture in your story.
Our illustration service can also work alongside our children book publishing services if you'd like help turning the finished art into a finished book. Either way, it's worth getting in touch with us while your story is still taking shape.
Frequently Asked Questions
What is the process of illustrating a book?
Illustrating any kind of book follows the same basic path as a picture book, from a brief to rough sketches to finished art, with an approval at each step. What changes is the scale. A chapter book usually has far fewer pictures, often in black and white. There may be no full storyboard, just a sketch and a finished drawing for each picture. A cover has its own shorter path. It moves from a few rough ideas to one chosen sketch, then to finished art that wraps around the front, spine and back.
Can I send my own sketches to the illustrator?
Yes, you can send your own sketches, and many illustrators find them a helpful guide to what you picture. Stick figures and rough boxes are fine, because the aim is to share an idea, not to show drawing skill. Treat them as notes rather than instructions, though. An experienced children's book illustrator may see a stronger way to stage a scene. It's worth hearing that before you insist on your version.
Do children's book illustrators work digitally or on paper?
Children's book illustrators work both ways, and many mix the two. Some paint in watercolor, gouache or acrylic on paper and then scan the finished pages. Others draw and paint on a tablet with digital drawing apps. The stages you go through stay the same either way. What matters to you is that the finished files meet your printer's needs. If the art is made on paper, ask how it will be scanned and at what size.
Who adds the words to the illustrated pages?
In many picture books, the illustrator doesn't paint the words in. A book designer adds them during page layout, after the art is finished. That's why the sketches leave clear space for text and why the final art usually arrives without words. Some illustrators hand-letter a title or a sound word like splash as part of a picture, which is fine to agree on. The main story text, though, is easier to fix and resize when it's kept separate.
When does the cover get illustrated?
The cover is often drawn near the end of the project, once the main character and the look of the inside pages are settled. That way, the cover shows the same character readers will meet inside the book. Some authors need a cover sooner, for example to announce the book early. An illustrator can usually plan for that if you mention it in the brief. It's also worth confirming at the start whether the cover is part of your illustrator's job at all.
How involved is the author in the illustration process?
If you're self-publishing and you hired the illustrator, you're involved at every stage. You're the one approving the brief, the character, the sketches and the final pages. With a traditional publisher, it's different. The publisher's art director finds the illustrator, and how much of the art you see along the way depends on the publisher. In both cases, it helps to know ahead of time who has the final say at each stage.
- What Happens After You Hire an Illustrator?
- The Brief Gives the Illustrator Everything to Start With
- The Main Character Is Designed Before Any Page
- Thumbnails and the Storyboard Map Out Every Page Turn
- Sketches Show Every Page at Full Size
- When Should You Ask for Changes?
- Final Art Is Where the Pages Get Finished
- When Is Color Added to the Illustrations?
- What Files Should You Get When the Art Is Done?
- Where Book Writing US Comes In
- Frequently Asked Questions